Monday, August 29, 2016
No post until September 12th!
We've been on the go the last couple of weeks and the travel will continue another week or so. Due to this, the next blog on building a run-in shed will come out on September the 12th. Sorry for the delay!
Monday, August 15, 2016
Sauce Maker Appliance makes quick work of tomatoes!
This year I updated some of my appliances for preserving food. One of the purchases was the Ball FreshTech HarvestPro Sauce Maker. This is the EASIEST thing to use and makes very quick work of skinning, de-seeding and juicing tomatoes!! It is also easy to clean as well. I can highly recommend adding this to your arsenal of kitchen appliances.
I have no financial interest in this product or this company, I am just relating my wonderful experience with it. I purchased it on sale at the beginning of the season (in May) for $99.99. Regular price is $149.99. Here's the website:
http://www.freshpreserving.com/ball-freshtech-harvestpro-sauce-maker-1034049VM.html#start=1
You simply wash the whole tomatoes, core and cut them into quarters and heat in a pan. Once heated thoroughly, you put them into the sauce maker and process. 6 quarts of juice took me MAYBE 30 minutes to process! That included heating the tomatoes to begin with!
The above photo shows the how easy this appliance is to operate! You place the cut up, heated tomatoes into that top bin. Place your "scraps" bowl (seed and skin bowl, which is my white bowl here) at the end, place another bowl under the juice "spout" as shown (glass bowl here) and turn on the sauce maker! VERY quickly, you've got your juice ready to can or cook with! The appliance also has a larger setting, for allowing chunks of tomatoes, onions, etc to come through. I have not tried that setting yet, so can't comment on how well that works.
The left over scraps, I feed to our chickens. They LOVE this stuff! I'm sure pigs would like this too.
I've found this addition to our kitchen to be very, very helpful and well worth the cost! Canning season is slowing down for us here in the south. Now it's beginning to cool off a bit. Next blog will begin a series on putting up your own small barn or run-in shed. That will come out August 29th. I hope you are enjoying your summer and are having a great canning season!
 |
| The HarvestPro Sauce Maker. LOVE this kitchen appliance! |
 |
| The sauce maker assembled. |
I have no financial interest in this product or this company, I am just relating my wonderful experience with it. I purchased it on sale at the beginning of the season (in May) for $99.99. Regular price is $149.99. Here's the website:
http://www.freshpreserving.com/ball-freshtech-harvestpro-sauce-maker-1034049VM.html#start=1
You simply wash the whole tomatoes, core and cut them into quarters and heat in a pan. Once heated thoroughly, you put them into the sauce maker and process. 6 quarts of juice took me MAYBE 30 minutes to process! That included heating the tomatoes to begin with!
 |
| Box of tomatoes bought from the local farmer's market for $10! |
 |
| Sauce maker in action. |
The left over scraps, I feed to our chickens. They LOVE this stuff! I'm sure pigs would like this too.
 |
| Scraps neatly contained and ready to carry out to the chickens! |
I've found this addition to our kitchen to be very, very helpful and well worth the cost! Canning season is slowing down for us here in the south. Now it's beginning to cool off a bit. Next blog will begin a series on putting up your own small barn or run-in shed. That will come out August 29th. I hope you are enjoying your summer and are having a great canning season!
Monday, August 1, 2016
A couple of quicker and easier ways to freeze sweet corn!
If you've ever had fresh sweet corn from the garden, you are probably hooked and willing to work to freeze it yourself for use this winter! It tastes SO much better than the store bought cans of kernel corn. Normally, most articles you read will tell you to blanch the corn first, before cutting it off the cob and freezing it. Wouldn't it be nice to be able to just freeze it WITHOUT blanching?? Think of the time you would save!
Years ago, my mom tried freezing corn-on-the-cob without blanching and it worked just fine! In fact, we enjoyed the texture of it better than blanched corn that was frozen. The unblanched frozen corn (to us anyway) resembled the texture and taste of fresh corn more accurately than the blanched frozen corn did. From everything I've been able to read and question, unblanched frozen corn does not seem to pose a safety concern either.
There are 2 methods that I've used myself. The first is the absolute quickest and easiest. Take your sweet corn, wrap it in aluminum foil to completely cover it (WITH the shuck still on!) and throw it in the freezer! When you get ready to cook it, loosen one end of the foil and loosen the pointed tip of the shuck, run a little cool water into the end of the corn, then wrap the foil back up and place it on the grill to cook. OR you can take the foil off, loosen the pointed end of the shuck and run the cool water in, wrap the corn in a paper towel and cook it in the microwave for about 5 minutes. Be careful when you remove the shuck! It will be HOT and steamy!
The other method I've tried of freezing corn without blanching is a bit more time consuming (because I cut it off the cob), but it tastes just as good! Just shuck the corn, clean all the "hairs" off the corn, wash the cob in cool water, then cut the corn off the cob, spoon the corn kernels into a freezer container and freeze!
If you've read my previous blogs, you'll remember that I have RA now (rheumatoid arthritis). It's harder for me to use my hands in a physical way. Cutting the corn off the cob is hard for me to do with just a knife. I started looking around and I found THE best device to cut the kernels off the corn cob! It's currently priced at $9.99 and comes from Carol Wright Gifts. I know, you're thinking it won't be sturdy (it is made of mostly plastic). Well, I've finished putting up our sweet corn this year and it held up just fine and is stored away now, waiting for use next season! Here's the link to the corn cutter's page (they call it a corn stripper):
http://www.carolwrightgifts.com/corn-stripper/80342.cfm?key=5G00236B&cm_mmc=PaidSearch-_-GooglePLA-_-FreeShip-_-80342&gclid=CJus7MXKh84CFdU6gQod6WEOAg
Here are some pictures of it. It's EASY to use, easy to clean, keeps the kernels from going all over the place and works for both uncooked AND cooked corn on the cob!
 So now, you have left over husks and cobs with most of the corn cut off of them. What do you do with this stuff? If you live on a farm, feed it to your livestock! Pigs LOVE this stuff, cows like it too and some horses like it, as well as your chickens! You may need to cut up the cobs into smaller bites for the horses, chickens and pigs. I feed it to the horses like a treat. Most of them really like it, but there are a couple that turn their noses up at it! For our full sized horses, I cut the cobs into pieces that are about 2 inches long. For the miniature horses, I then cut that 2 inch long piece into halves (much easier for them to chew). For the chickens, I then cut that 2 inch long half piece into half again. As for the husks, I just put them out on the ground and let them forage through them. Horses can be picky about the husks especially! Our Saddlebreds won't eat them. The Arabians love them. The miniatures have to be in the mood to eat them! LOL It's safe for them to eat. Just don't feed them too many husks or cobs at once. I limit the full sized horses to 2 cobs each/per day. The minis get less than that. If you have a horse that has foundered, probably better to not give them any cobs at all.
**Important Reminder!** If you save the cobs to feed to livestock later on (more than a day later), be sure to keep the cobs in the refrigerator. They can (and will) mold if left at room temperature for over a day. NEVER feed molded cobs to any livestock. It can make them sick.
**Another important reminder!** Never feed anything to someone else's animals, without their permission. Meaning, if you live next to livestock, do NOT just throw this stuff over the fence. You can make the animals very sick. Some of them can be allergic to certain foods, just like you are! ALWAYS ask the owner first, if it's OK to give something to their animals. PLEASE, YOU MUST ALWAYS ASK FIRST!!
That's it for this blog's helpful, time saving hints! Next blog will look at another new appliance I added to the food preserving line-up this summer, a sauce maker! I love it too! Until then, happy freezing and canning! (Next blog due out Monday August 15th.)
Years ago, my mom tried freezing corn-on-the-cob without blanching and it worked just fine! In fact, we enjoyed the texture of it better than blanched corn that was frozen. The unblanched frozen corn (to us anyway) resembled the texture and taste of fresh corn more accurately than the blanched frozen corn did. From everything I've been able to read and question, unblanched frozen corn does not seem to pose a safety concern either.
There are 2 methods that I've used myself. The first is the absolute quickest and easiest. Take your sweet corn, wrap it in aluminum foil to completely cover it (WITH the shuck still on!) and throw it in the freezer! When you get ready to cook it, loosen one end of the foil and loosen the pointed tip of the shuck, run a little cool water into the end of the corn, then wrap the foil back up and place it on the grill to cook. OR you can take the foil off, loosen the pointed end of the shuck and run the cool water in, wrap the corn in a paper towel and cook it in the microwave for about 5 minutes. Be careful when you remove the shuck! It will be HOT and steamy!
The other method I've tried of freezing corn without blanching is a bit more time consuming (because I cut it off the cob), but it tastes just as good! Just shuck the corn, clean all the "hairs" off the corn, wash the cob in cool water, then cut the corn off the cob, spoon the corn kernels into a freezer container and freeze!
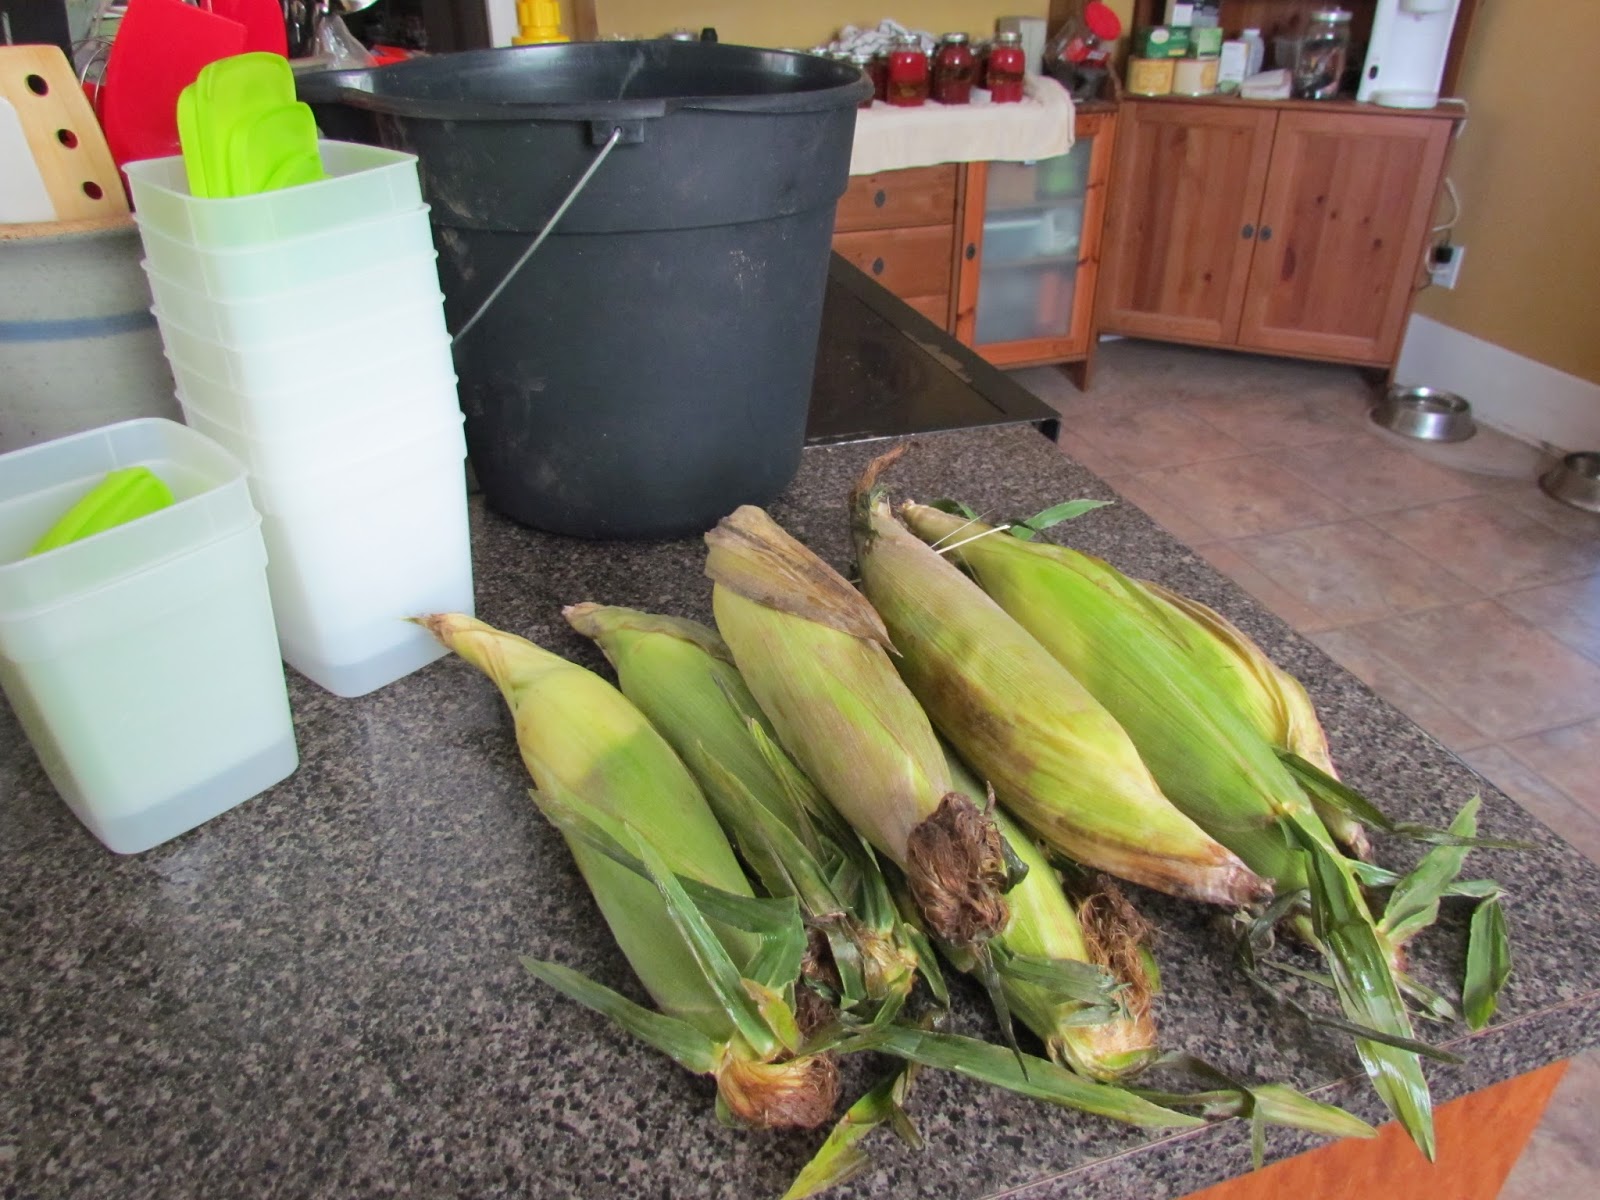 |
| Corn-on-the-cob with it's shucks still on. |
 |
| The "hairs" that need to be removed from the corn before cutting it off the cob. |
If you've read my previous blogs, you'll remember that I have RA now (rheumatoid arthritis). It's harder for me to use my hands in a physical way. Cutting the corn off the cob is hard for me to do with just a knife. I started looking around and I found THE best device to cut the kernels off the corn cob! It's currently priced at $9.99 and comes from Carol Wright Gifts. I know, you're thinking it won't be sturdy (it is made of mostly plastic). Well, I've finished putting up our sweet corn this year and it held up just fine and is stored away now, waiting for use next season! Here's the link to the corn cutter's page (they call it a corn stripper):
http://www.carolwrightgifts.com/corn-stripper/80342.cfm?key=5G00236B&cm_mmc=PaidSearch-_-GooglePLA-_-FreeShip-_-80342&gclid=CJus7MXKh84CFdU6gQod6WEOAg
Here are some pictures of it. It's EASY to use, easy to clean, keeps the kernels from going all over the place and works for both uncooked AND cooked corn on the cob!
 |
| The corn cutter/stripper assembled and ready to use. |
 |
| Corn cob placed in the cylinder, getting ready to cut the corn off. |
 |
| Before you place the cob into the cylinder, make sure the end is flat. Otherwise, it won't seat itself properly and will make the process difficult (if not impossible). Just take a knife and cut this end off. |
 |
| Place the metal hollow "rod" over the end of the cob. |
 |
| Push the plastic "prongs" down onto the top of the cylinder. Then push down on the metal "rod" (which has cutting teeth on the end of it). This will cut the kernels off the cob. You can twist the metal rod as you push down or you can just push straight down (if you are strong enough). |
 |
| After you remove the metal "rod", your cob will come out inside the "rod', leaving the kernels of corn in the cylinder. Empty them out into a bowl (if you are freezing them) or empty them directly onto your plate if you have already cooked the corn! |
 |
| You can see the cob sticking out the end of the metal "rod". By placing the yellow "tamper" into the end of the rod, you can force the cob out the other end. |
 |
| Left over cobs. You can see just a tad bit of corn left on the cob (at the small end). If you want to cut that off with a knife, you can. It doesn't leave very much on there though. |
We like to add red bell peppers to our sweet corn. You can do that now, before you freeze it, or you can add them in later when you cook the corn. Your choice and it works fine either way.

**Important Reminder!** If you save the cobs to feed to livestock later on (more than a day later), be sure to keep the cobs in the refrigerator. They can (and will) mold if left at room temperature for over a day. NEVER feed molded cobs to any livestock. It can make them sick.
**Another important reminder!** Never feed anything to someone else's animals, without their permission. Meaning, if you live next to livestock, do NOT just throw this stuff over the fence. You can make the animals very sick. Some of them can be allergic to certain foods, just like you are! ALWAYS ask the owner first, if it's OK to give something to their animals. PLEASE, YOU MUST ALWAYS ASK FIRST!!
That's it for this blog's helpful, time saving hints! Next blog will look at another new appliance I added to the food preserving line-up this summer, a sauce maker! I love it too! Until then, happy freezing and canning! (Next blog due out Monday August 15th.)
Subscribe to:
Posts (Atom)